

Learn to sculpt with Delesprie
The class is held on an-ongoing basis every Friday afternoon from 12 to 3 in my Studio in Ventura, CA. The small group is perfect for beginners, intermediates and all ages 18 years and over. The cost is $460 for a 10-week semester. You will find that this is less expensive than most Art Schools. Make-up classes are provided if a student has medical or travel issues only.
Most of my students have been able to take off work early on Friday afternoons to attend the class. No new classes are scheduled for a different time or day at the moment; except for private classes that are $50.00/hour. If you are interested, please let me know so I can include your name on the mailing list.
Some students are using models that we have taken excellent pictures of to obtain their needed profiles (also known as silhouettes). It may look difficult, but it is a step by step process that you can learn.
Beginning with a silhouette process, clay is applied onto the armature (a structure usually made of metal wire or a steel pipe), paying attention to the front, sides and back profiles of the subject or model. Additional clay is added, filling in the spaces noting varying levels of planes and surfaces. The set up process is rewarded by a beautiful and exact likeness of the model. 3D Art is experiential and can only really be learned by seeing it done and doing it.
During the class; students will also receive instruction on anatomy made easy. My style is neo-classical with emphasis on the baroque twist of the model’s pose. (This is all explained in class)
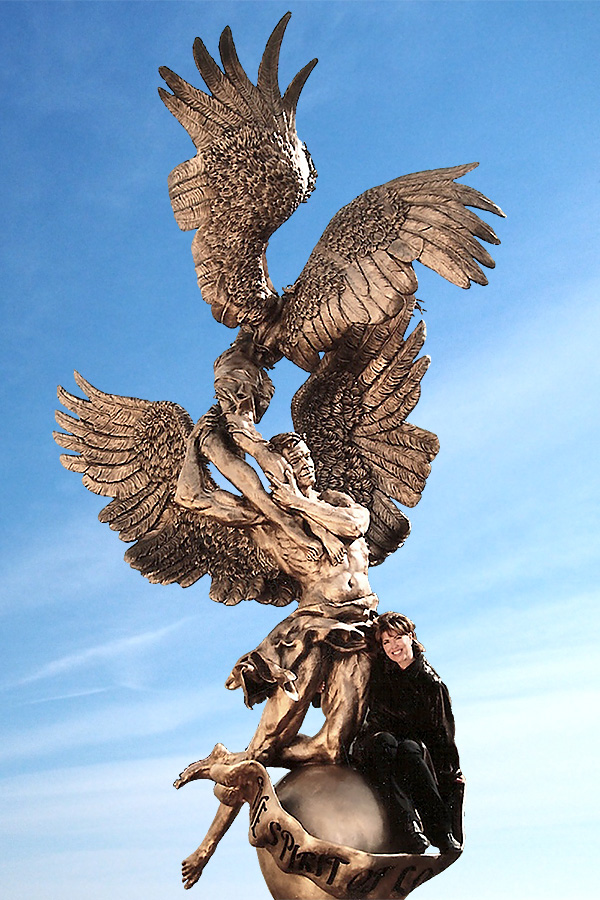
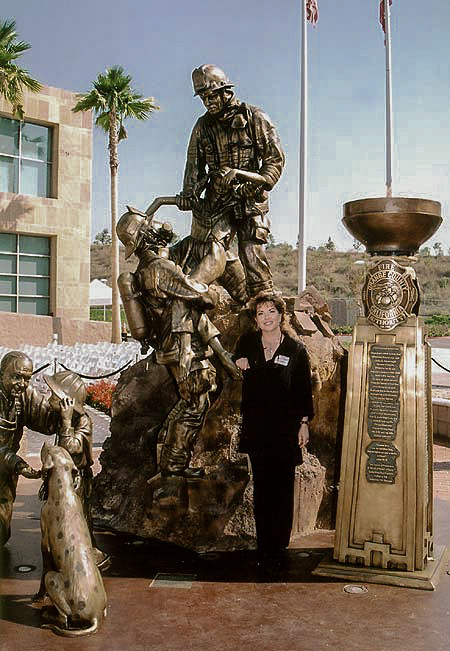
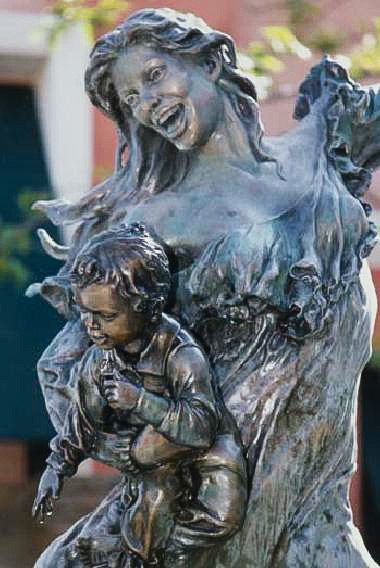
Visual Art is enormously rewarding using the technique that I teach; once learned you can sculpt absolutely anything. It is a method that I have taught since the early 80’s with tremendous success. Lisa my Assistant has touched and sized our pictures perfectly for our needs.
The student just pays $25 to the model for the length of time it takes for them to complete the sculpture. That enables us to keep the price lower for the class. It also compensates for the model never moving, slouching or taking breaks. It has worked well for many students who are independent and like to create their own works of art and still get hands on input from their teacher.
Students can work on their desire project; they can choose a relative’s face a loved one or a friend. Some students choose an animal. Students may bring their statue home to work on it after they have filled all four silhouette or profiles and some filling in of clay. If students try to work too fast and skip the silhouette process, there is a lot of lost time to correct it. To make it the best possible sculpture; the foundation has to be accurate just like a home or building, the foundation needs to be laid then the framing and finally the walls and decorating.
I have always worked from photographs on commissions and monuments. At times, the models are hired to pose in person at the beginning for the photographic shoot and toward the end to perfect the pose. For beginner it is not required to have the model pose during sculpting; having the pictures is sufficient.
The first class involves the tools required, how to photograph a model, the best clays for your project and how to start an armature and sculpture. The armature can be built in class. I talk with each student before they come to class to get an idea of what they want to create in class. Lowes is down the street and students can get their tools there and then build their armature in class on the first class.
Some students are sculpting busts of their family member or loved ones; however they have to learn how to take pictures from the dead North, dead South, dead East and dead West in particular and the ¾ angles.
This can all be learned in class for their first project or they can use photographs of pre-existing pictures we have taken of our favorite models. Please refer to the PDF booklet for instructions and Materials on taking pictures of models for the class provided for enrolled students.
This booklet is provided once students enroll and pay for the semester. I conduct demonstrations of sculpting heads, faces, ears, eyes, noses, mouths, hands, feet, full bodies etc…on individual students sculptures and on my own statues.
I give input/critique to each student every class. Some students can use modeling books for ARTISTS. THEY PROVIDE PICTURES OFPOSES AND PROVIDE MANY ANGLES FOR A STUDENT TO CREATE A 3D.
I talk with students individually when first starting a statue to let them know what kind of basic armature (aluminum wire for oil based clay, pipes and newspaper for water-based etc) will be required to make at home or in the class.
Some sculptures require no armature. I also teach the coil method that requires a wood base only if they are not moving their statue from the studio here to their homes; this is a method that keeps the statue hollow for firing.
There needs to be a discussion with the student to find out what they would like to create and the correct clay and armature for their individual needs.
Most students like to make them at home so they can get started immediately on their new work of art when they come to class. Students walk away with a sense of accomplishment and satisfaction that their sculptures are successful.
For beginners I suggest they come in and we can talk about how to construct their individual armature and where to buy their particular tools and their specific clay for their sculpture.
The PDF Instructional and material booklet for the class includes; the basics of the picture taking method, a step by step process for making a sculpture, instruction on anatomy, and the tools needed.
Armatures for heads are photographed and explained.
Please notice there are required tools in the booklet, but I keep it basic so there isn’t a large outlay of funds at the beginning. Tools can be added as you realize how easy it is to learn how to sculpt with the right instruction. The better tools help to make your sculpting easier and faster.
All students put their Initials on their tools using a magic marker nail polish or paint so they do not get lost. This is something that happens frequently; so own your tools by putting a mark on them.
The list of stores is on the PDF Instructions and Material booklet. Please bring this instructional letter and THE PDF INSTRUCTIONAL BOOKLET WITH YOU TO CLASS EACH AND EVERY TIME. IT IS YOUR MANUAL FOR THE CLASS.
Directions are given to students only when signed up for a class. A deposit is required before you begin the class.
Checks are made payable to Delesprie.© Delesprie 2017